Mini Garden
How to create your very own miniature or fairy garden in an old broken pot.
Emma
17 May 2016
Miniature and Fairy gardens are becoming increasingly popular these days, you only need to take a quick look at Pinterest to see a million different examples. The inventive use of broken pots grabs my attention as I hate throwing things away that could still be of some use. So over the weekend I decided to make use of some old terracotta pots I had stuffed away in the shed, which had some serious cracks.
I love succulents and they are perfect for this type of project, I treated myself to four tiny new ones and divided one thriving in the flower beds. I also added a few plants my neighbour had given me so it was a pretty cheap project which I could easily have done for free.
.jpg)
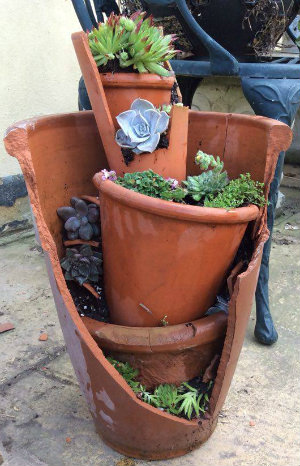
I had two big pots which were going to be great for this, one had already broken the whole of it's top off and the other had a huge crack running down the side. So I started to chip away at them to get the perfect shape I wanted, of course one of them didn't chip quite how I intended and I managed to lose nearly half of it. Never mind, I just laid that one on it's side, otherwise it would never hold any soil in. They say the best inventions happen by accident!
To make a mini or fairy garden you need to start building from the bottom. As my pots were quite deep and I knew the succulents weren't going to need much soil, I filled the bottoms with left over polystyrene. This is a great way of helping with drainage, making the pot lighter, saving on soil and recycling yet another thing I have saved in the shed.
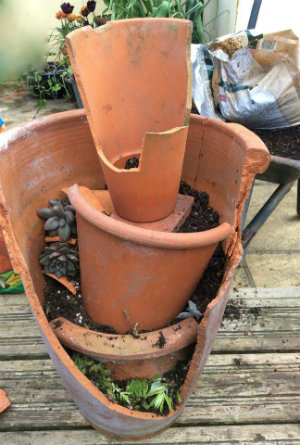
In goes a little bit of soil and then comes the stacking. This is basically where you add plants, soil and more broken bits of pot to 'terrace' the soil holding it in, as you go along.
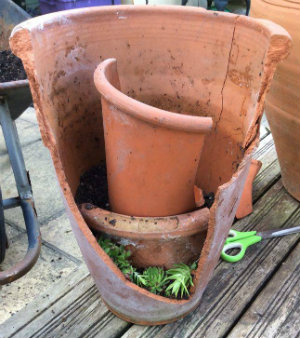
As your working with such small little bits of pot and plants it much better to plant as you go. You'll notice that I added another smaller broken pot, this is the best way to hold back the larger section of soil, if I had only used a piece of pot it would likely fall out when it rained.
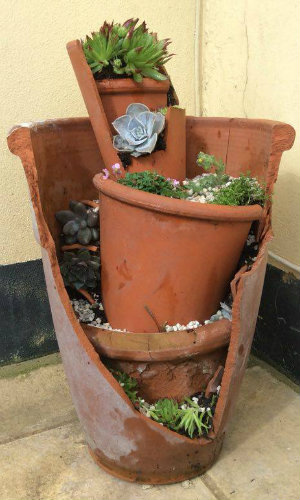
A little bit more soil, plants and another pot...
Quick water using the mist function, on my spray gun and everything is still in place, no mini landslide here!
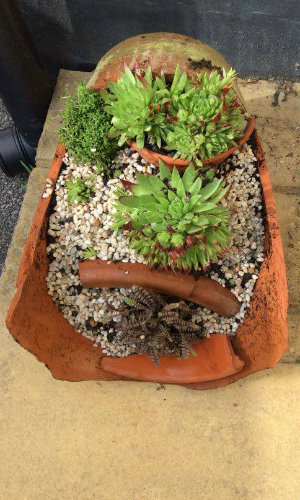
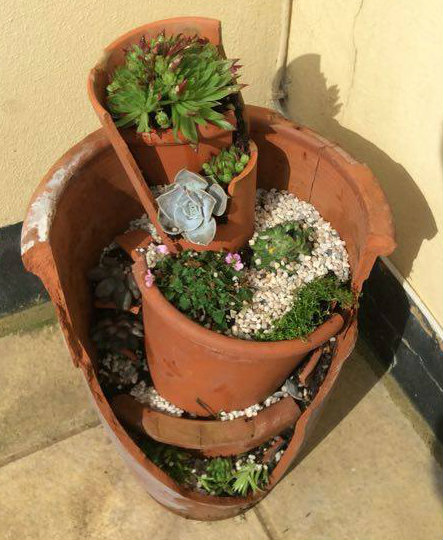
Another thing hoarded...Ahem...I mean stored, in the back of the shed was a bag of gravel so on that went and voila!
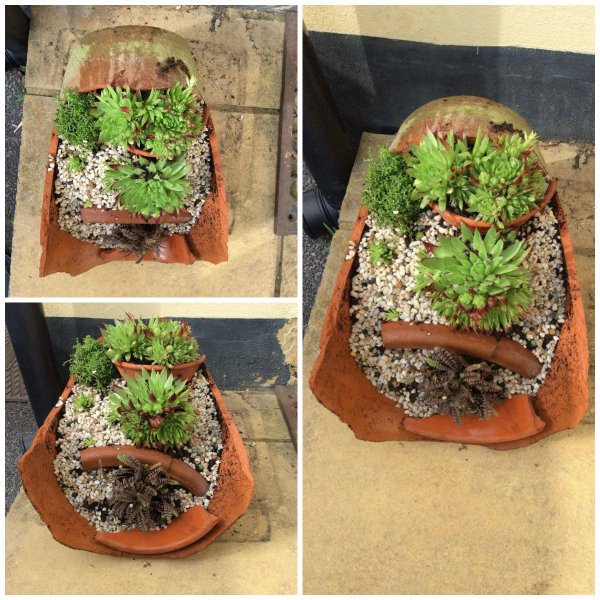
I used the same principles to make up my second pot.
These now have pride of place at my front door.
To turn any mini garden into a fairy garden you can add little ornaments such as fairies, houses, gates, the list is endless. Making a mini or fairy garden is a great way of recycling old bits and pieces in the shed and creating something new and unique! If you have a mini or fairy garden please share a picture of it with us on Facebook.
Happy Mini Gardening!
N.B. This article has been written for Australian gardens. If you're reading this from around the world, we do hope you've found it a useful stepping stone for your own further research.
Comments (4)
Thank you for the good idearAileen , 3 June 2016
Mini Gardens
Fantastic idea Tim. Like you I hate throwing away anything I can re use. Love succulents too. My imagination is working. Thanks for the idea.Beth Brewster, 3 June 2016
Thank you
What a great idea and thank you for sharing it.Lyn, 1 June 2016
Mini Gardens
Fantastic idea Tim thanks for sharingKen & Carole Wylie, 1 June 2016
- 1