Cress Heads
A simple step by step guide to making your own Cress Heads.
Emma
22 September 2015
When I was little I loved growing cress on the windowsill, it’s super easy and quick, perfect for the little ones with short attention spans.
What you need –
Cress Seeds
Eggs
Butter Knife
A Bowl
Kitchen Roll
Cotton Wool or cotton pad
Felt-tip Pens
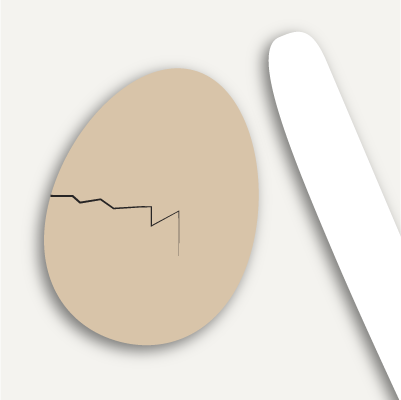 |
STEP 1 Give the egg a firm tap close to the top, with the back of the butter knife, empty the egg into the bowl. |
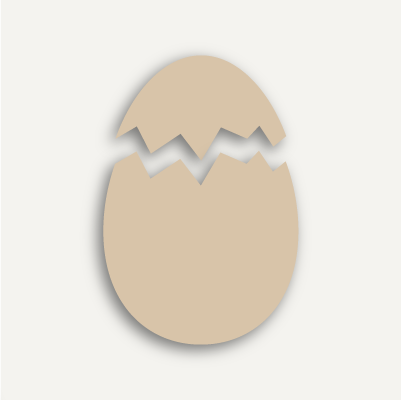 |
STEP 2 Give the larger of the two shell parts a good clean inside. |
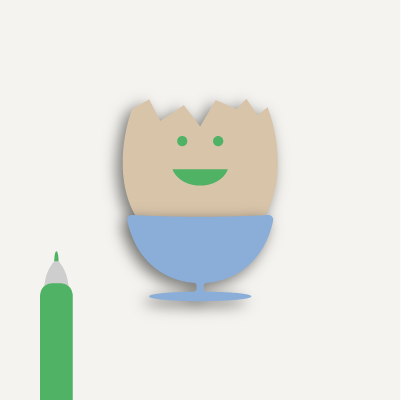 |
STEP 3 Draw a face on the outside of the shell with the felt tips. |
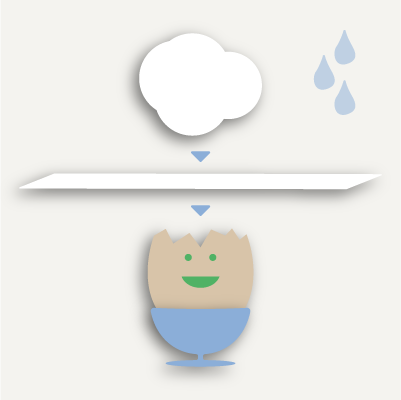 |
STEP 4 Wet a piece of kitchen paper and screw it up inside the shell. |
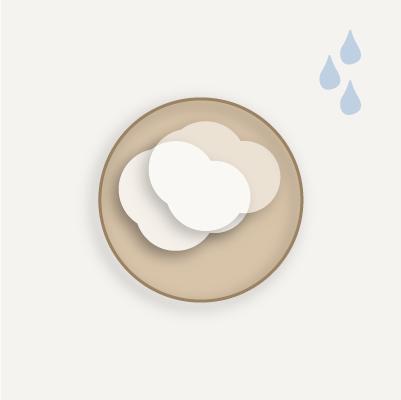 |
STEP 5 Take a thin piece of cotton wool or cotton wool pad, wet it and place it as flat as you can on top of the kitchen paper. |
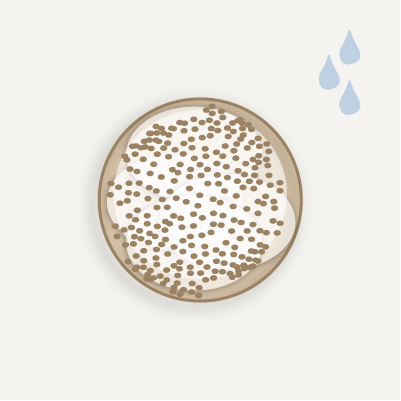 |
STEP 6 Scatter a layer of cress seeds on top of the cotton wool, the sprinkle some water on top. |
 |
STEP 7 Pop the finished Cress Head in an empty egg box or in an egg cup, repeat steps 1-7 as many times as you like. |
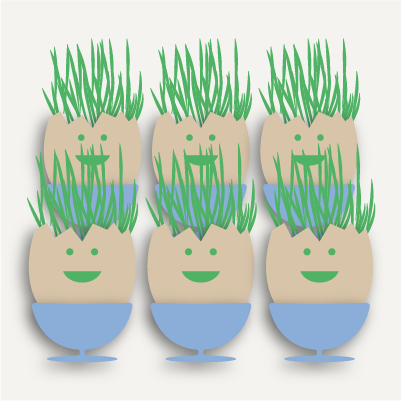 |
STEP 8 Place in a warm, light position and water every day. You should start to see sprouts in two days. |
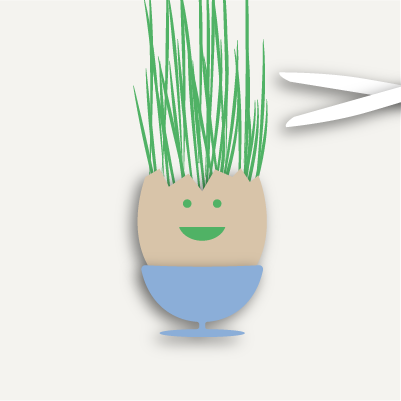 |
STEP 9 In about a week the cress will be about 5cm tall time to snip some off with scissors and eat it. |
There you have it, it really is very simple. I hope you enjoy growing and eating your own cress.
Happy Growing